Posted by:
ArtInScales
at Thu Nov 6 01:09:17 2008 [ Email Message ] [ Show All Posts by ArtInScales ]
Here are some pics of the cages we're working on. I'm not finished building cages yet. There will be 2 more cages next to the TV and 6 more above, 2 rows of 3 cages. The bottom cages are roughly 6 feet by 3 feet.

These are made with maple melamine top, back and sides. The front is maple plywood, door frames are solid maple and the floor is plywood with maple laminate glued on with contact cement.
I used flexwatt under the floor by routing a space 3/8 deep so the heat doesn't have to go all the way through the 3/4 plywood. Then I stapled the flexwatt in the recess. I put the probe for the thermostat in a small recess between the floor and the flexwatt. These cages are in our living room, so I was concerned about controlling the ambient heat. Five of the panels are for the hot spot and five of the panels are for the ambient heat. Cages that we have built in our snake rooms only get flexwatt for a hot spot since we control the temps of the room with a space heater and a thermostat.
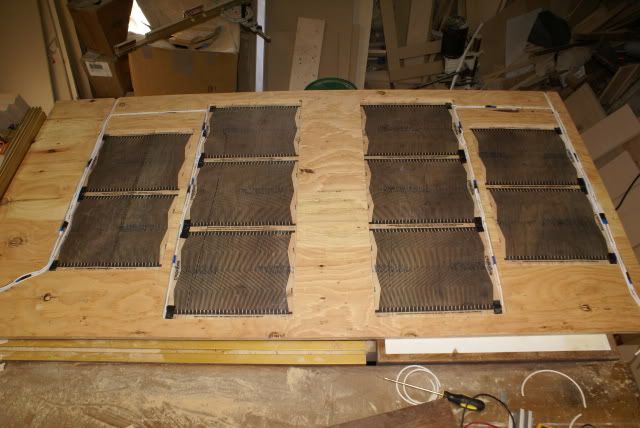
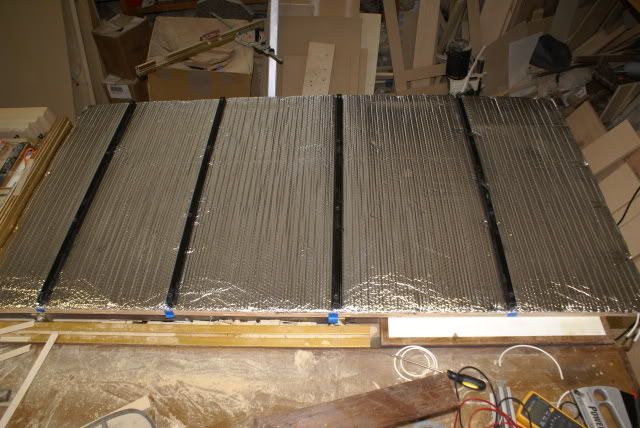
Once all the wiring is done I covered the whole thing with Reflectix to help force the heat up into the cage and not over heat the cage below. Since I removed so much material from the 3/4 plywood I reinforced the floor with 3/4 square steel.
All the cages will be controlled with 2 Herpstat Pro's. One Herpstat will control all the ambient heat and the other will control all the hot spots. That way if something happens to one of the Herpstats all the cages will still have some kind of heat.
We have use this set up on several other cages we have built and it works quit well. It take a few hours for the cage to reach it full temps because it has to heat the plywood, but once it's up and running the temps stay pretty steady and I don't have to worry about a snake burning themselves on their heat source.
-----
Randy and Michelle
Art In Scales
(719) 439-4199
info@artinscales.com
[ Hide Replies ]
|


