ok here is a quick rundown, i work for a cabinet shop and was able to have material ordered for me that consisted of 3/4" maple melamine for the shell and also some 1/4" melamine for floors. the reason i used melamine was because it is a durable finished surface thats water proof and looks good, it doesnt need any stain, sealer, varnish, paint, or anything.
i was also given permission from my boss to use to use the shop at work(even though he complained and gave me reason after reason why he doesnt let anyone use the shop the ENTIRE time i was there then on top of that he also charged me an hourly rate... my boss is a an A$$) so i had access to a big panel saw and an edge banner. those where nice to use and made it easy but you can still do it without...
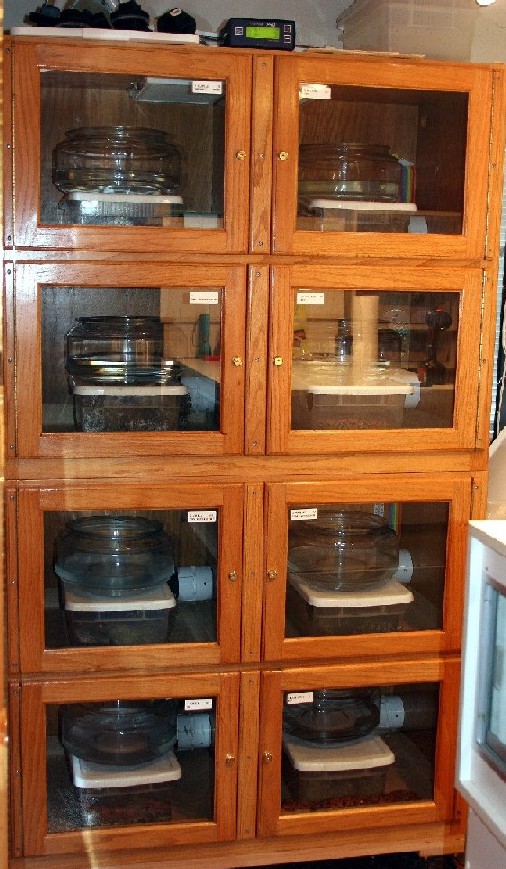
my cages are the typical 4'x 2' and are 16" tall, they are 5 separate units stacked together to make one tower.
to start i cut the 3/4" to use as 2 sides, a top, a back, and two 2" strips to to use as a top and bottom for a face.
you can kinda see that here.... sorry i didnt take the best construction pictures

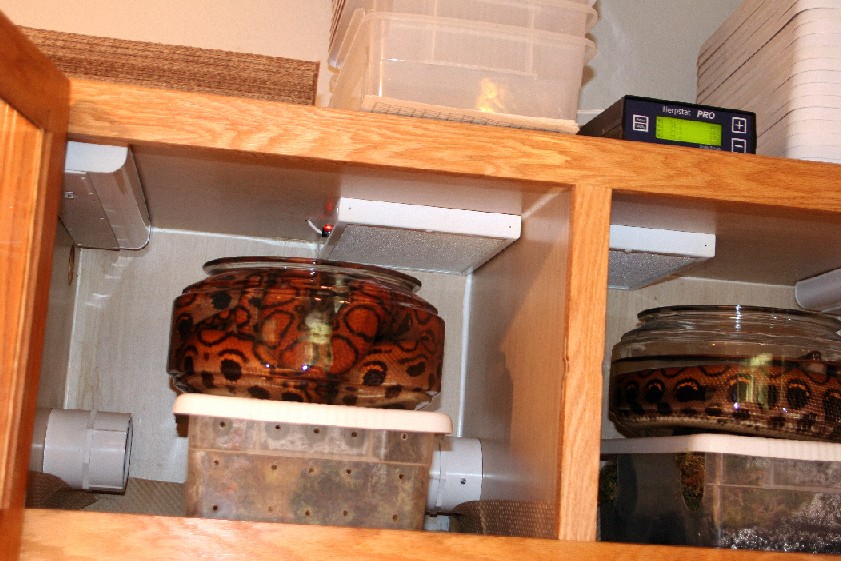
each of the sides, the back, and the bottom face strip have a 9/32" dato to accept the 1/4" floor. this is 1/2" up from the bottom to allow an air space for flexwatt. the flexwatt heat goes through the 1/4" A LOT easier than it would through 3/4". temps are controlled with a dimmer switch, not the best way but as long as they are checked several times a day with a temp gun you can get it to be pretty consistent. i also have a section of rope light in each cage which really doesnt do much more than a little extra light when cleaning so i hardly ever use them. but sometimes it makes for a nice display at night when its dark

the heat and light are switched and mounted in a box on the side

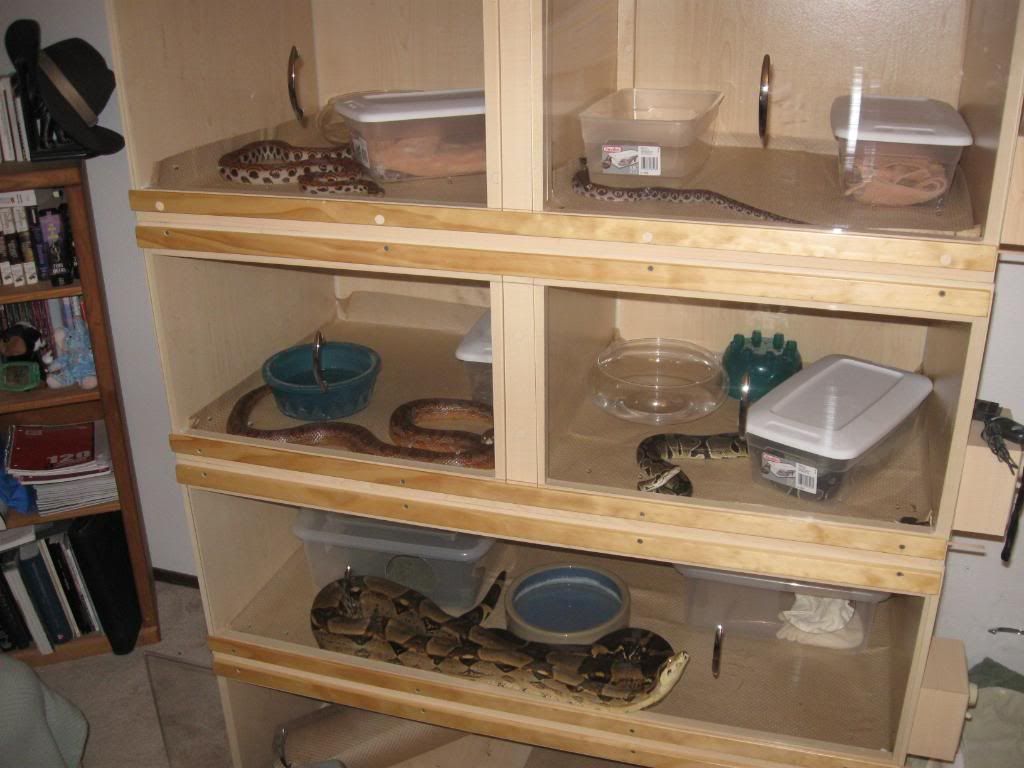
as stated before the top 3 boxes have removable dividers. this is a simple stop mounted on inside of the back and face frame. each divider has two nailers mounted front and back, so once in place one screw through each will hold it


the doors are 1/4" plexy glass that sit in a track. i milled the track just out of 1/2" pine, this allows the doors to slide side to side for quick water change, or more commonly, to be lifted up and completely out of the way for full access. i have handles mounted right to the plexy, and if you look close you can see vent holes in them as well, this is why i went with plexy instead of glass so that i could drill the holes myself... one thing that i did run into that i wasnt aware of, is the warping of the plexy. when you have a nice warm cage on one side and a cooler room on the other it expands at different rates causing it to bow. this effects how is sits in the track and makes it harder to slide and remove....
if i where to change anything i might change the doors, i really like the lift up and out style so maybe just switch to glass that doesnt warp. the edge banding glue does not seal the particle board core, so where it get wet it WILL expand.
i do really like the melamine for its pre-finish and several other reasons, but if there is a next time i think i will go with cabinet grade plywood, coat the inside with repti-shield and stain and seal the outside, i really didnt want to have to go through all that with these but for the next build i will
over all i am very happy with how they came out and feel they will hold up for years
-----
-Stephen-
0.1 Fiance (Babe)
1.0 rotwiler/chow (Boomer)
1.0 norm corn (Jake)
1.0 col redtail boa (Switch, formally known as Dixie)
0.1 ball python (Bella)
1.1 Brazilian Rainbow Boa (Torpaz & Saphira)


 thanks