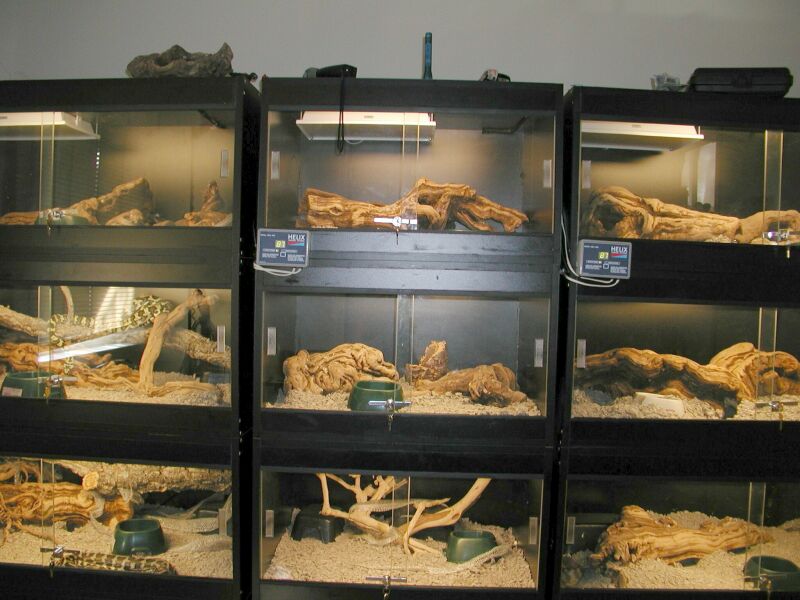
Finally got around to finishing my new snake cages. Actually, they've been finished for a while, I've just been too lazy to get the pictures together. The current ones kinda suck. Sorry!
The design is pretty basic: black 3/4" thick melamine was the primary material, held together with Confirmat-style screws and RooClear glue. PVC banding on all exposed edges. Doors are 1/4" thick plate glass, sliding in plastic tracks from Rockler. The lips are about 3" high. Lighting is via GE flourescent fixtures, with electronic ballasts. Heating is via Helix heat panels controlled by Helix proportional thermostats (one per stack). There's a heavy bead of caulk around the floor, to prevent water from damaging the melamine.
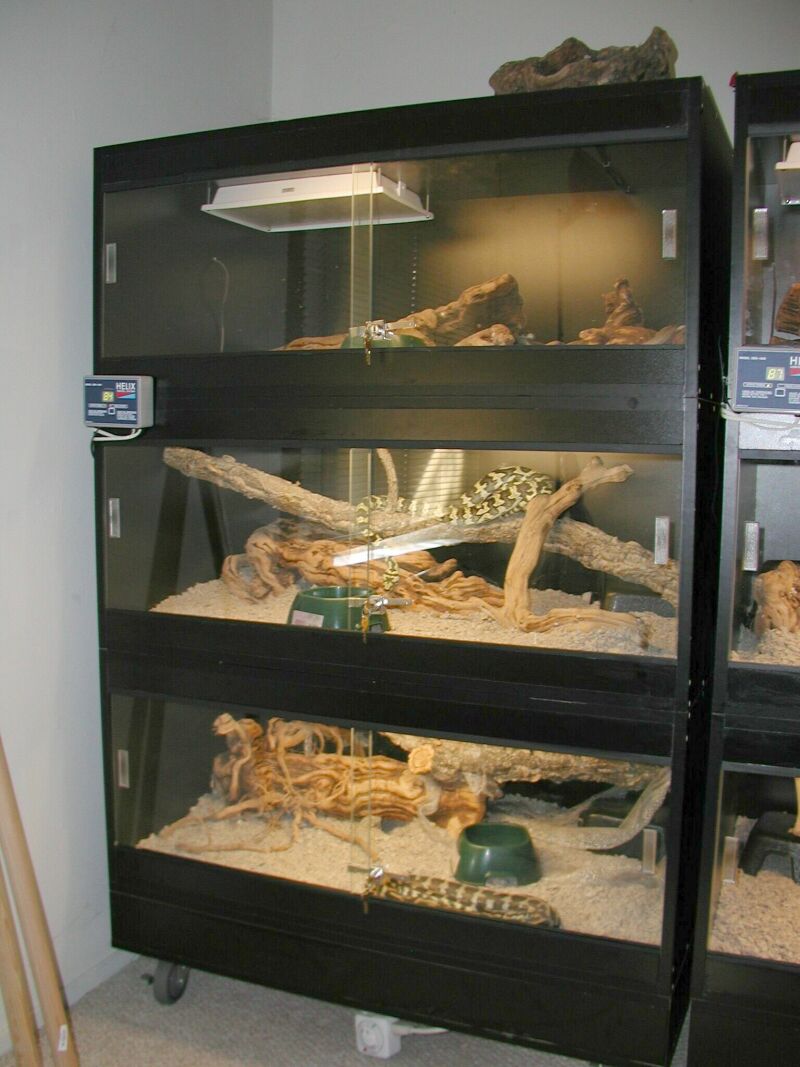
The cages on the ends are 42" wide, 24.75" deep, and 18" tall. The middle cages are 30" wide but the same in every other dimension. The cages sit on platforms that are the same width and depth as the cages, but only 5" tall. The platforms are mounted on heavy-duty 4" casters. Sides of the platforms are black melamine, but the top and bottom are 3/4" plywood. Some of it is agathis and I think some was birch; whatever I had lying around that was cheap. Platforms were assembled using Confirmat screws and Titebond wood glue. Put black edge-banding on the plywood, so that it looks just like the melamine. Internally, the platforms have plywood or melamine braces that run from the back to the front. The cages are HEAVY, so I wanted some reinforcement there.
The cage stacks are held in place using dowels. Each cage/platform, except the top, has four 3/8" dowels inserted in holes at each corner. The dowels protrude about 3/8" from the top of the cage. There are matching, but slightly larger, holes drilled in the bottom of each cage to receive the dowels from the cage underneath. This allows some slight movement if you push on the middle or top cage, but it also means that you don't have to be super-accurate when drilling the holes and positioning the dowels.
Aside from the insane weight, which I expected, I think the whole thing turned out pretty well. The black melamine looks cool and makes the snake's colors really "pop". It's also very easy to clean and cut down on the time required to complete the project significantly (since it didn't need to be finished). The 3" lip at the top and bottom of the cage work pretty well, but a small amount of substrate still finds it's way into the tracks on occasion. Another 1/2" to 1" might have worked better, though it would have made the opening a bit too narrow for my tastes.
Total cost was, well, pretty insane. Melamine was cheap. Around $28 for a 4'x8' sheet. I think I used about 8.5 sheets to make all of the cages and the platforms. I built the cages in three separate stages; might have saved a little money on melamine if I'd done everything at once as I could have optimized the cut layout a bit better. Used the better part of a sheet of plywood (plus some extra?) for the tops and bottoms of the carts. Glass track was about $10/cage. Heat panels were $55/cage. Lighting fixtures were $35-40/cage. Used 12 casters, at a cost of around $16-18/ea, 3-4 tubes of caulk, a bottle of RooClear glue, and more than 100 Confirmat screws. I also broke two expensive ($25) stepped drill bits for the Confirmat screws before I figured out that the drill and countersink for a standard #10 screw would work almost as well. I bought two 250-foot rolls of iron-on edge-banding at $30-something a roll. Still have a bunch of edge-banding left over, but I'd have had a lot more if my puppy hadn't managed to chew on both rolls! Locks were $8-9/ea.
FYI, I used CutList Plus to layout the parts and come up with a cutting diagram. If anyone wants the files, let me know.