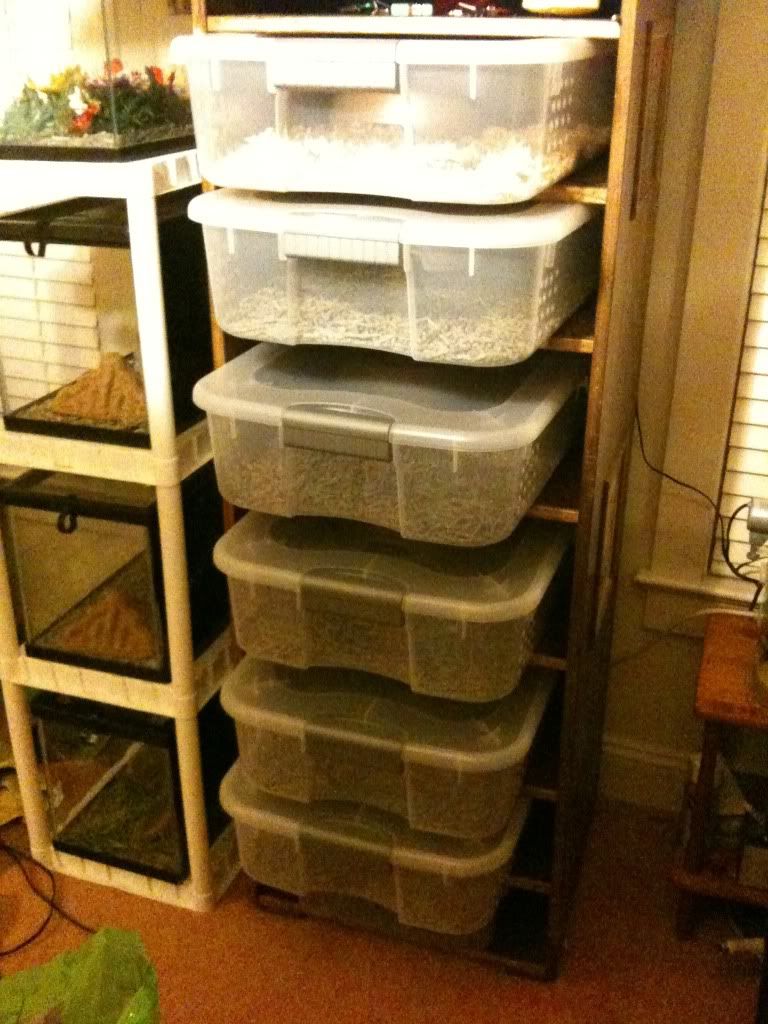
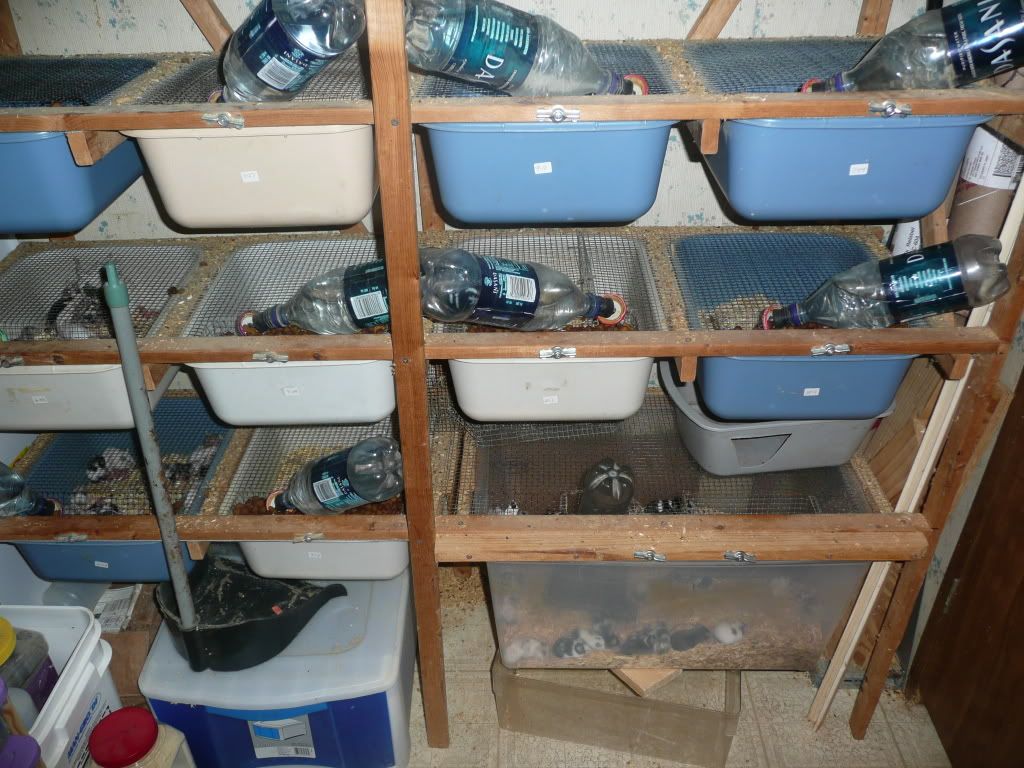
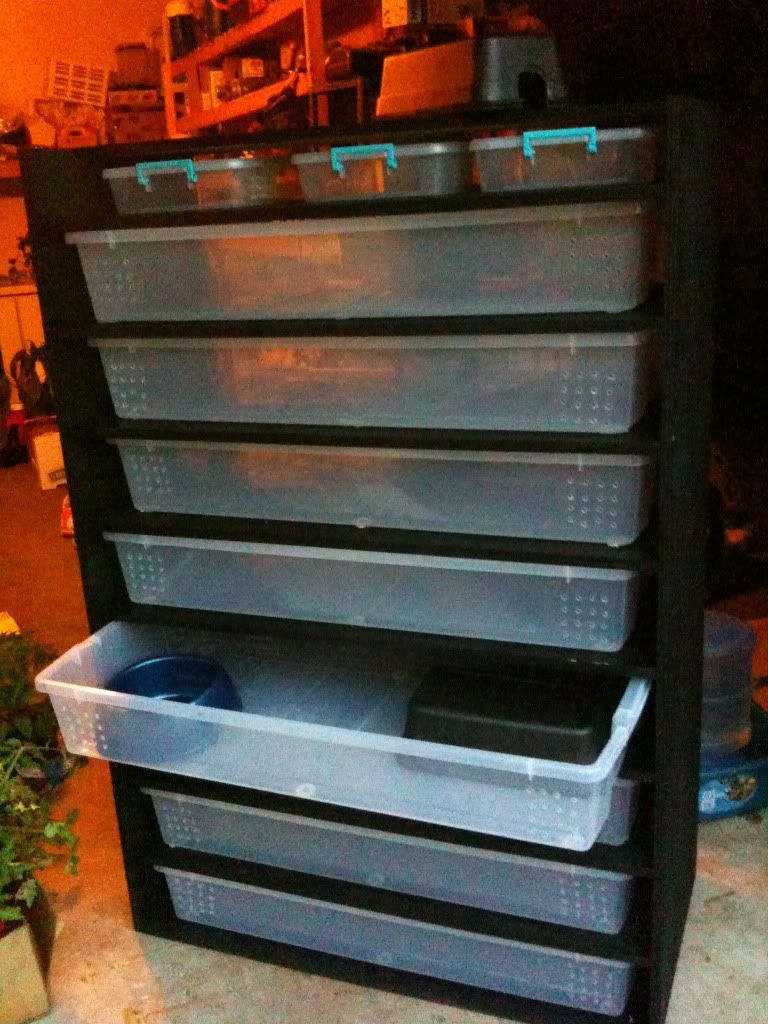
Soooooo as we have all established I've just had a birthday! And a mighty good one it was too! For my birthday.... Eddie and I designed and built a large snake rack that hold 8 Iris CB-110 tubs (38" x 20" x 6" as well as 3 little tubs up top. This is for housing some of my not-garter stuff, Most of my garters live in caging. I've rearranged my entire snakeroom and broke down a shelf to bring it in, but it maximizes the space I have available. For as large and nice as it is, it cost surprisingly little. The only tools we needed were a screwgun, a grinder, and a soldering iron. The Home Depot cut the wood to our specifications. Eddie bought the lumber and the tubs for this project. The Iris tubs are a bit on the pricey side at $18 each, but they are really nice tubs, a good size, nice and clear, and are rather hard to find and a highly valued tub in the reptile world. If you used a tub that was similar but cheaper you could build this even cheaper! We hunted all over the freaking place and these were the best tub we found. I like these tubs especially because they have very small nubs on their bottom, which would allow you to slide a heating pad underneath the tub with ease.
When we built this rack we stacked the tubs as we went. Some of them were just a tad too tight. So I used a grinder to take a bit off the nubs on the bottoms of the tubs. It worked like a charm, now they slide in and out easily.
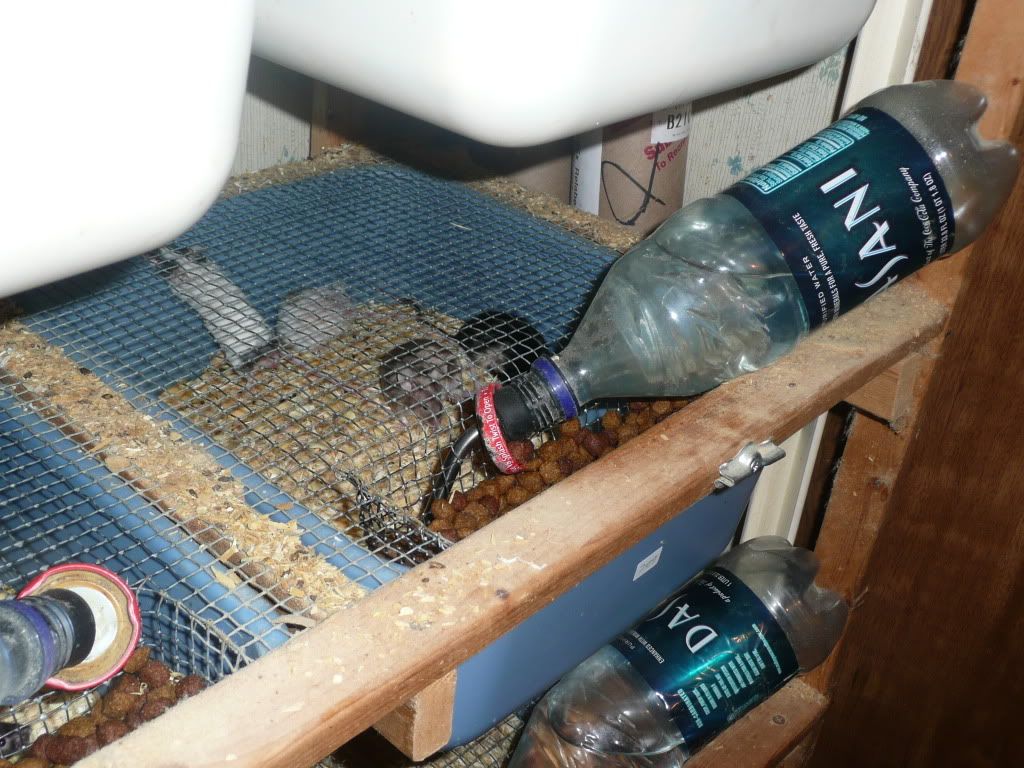
For ventilation.... I use a soldering iron to melt holes into the tubs. If you drill holes, you get sharp edges and cracked tubs. With a soldering iron, you get nice smooth holes... you just have to do it outside because of the smoke!
For the water bowls, I grabbed some standard plastic VanNess no-tip bowls for $1.20 each. These are the best for a rack because they can also double as a hide thanks to the holes for picking them up.
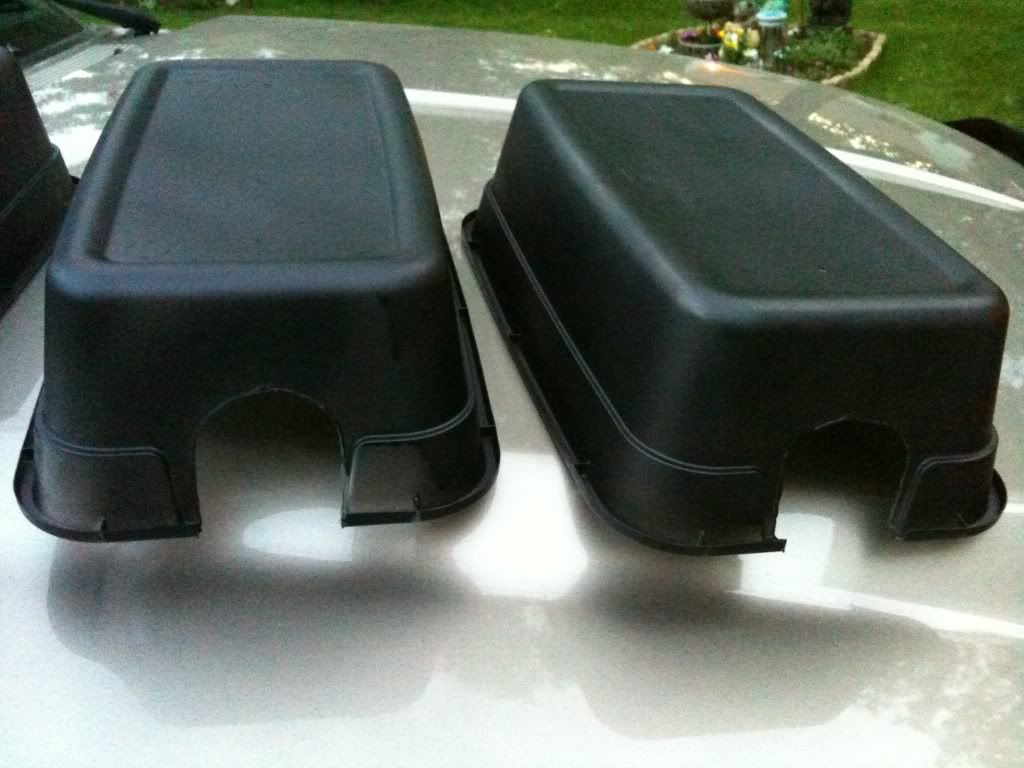
For the hides, I bought 8 plastic shoeboxes at the dollar store, turned them upsidedown, cut out an entrance out with my trusty soldering iron and the spray painted them black. making these hides took maybe 20 minutes tops, painting and all.
I am covered in spraypaint residue... sore from moving heavy things around in the snakeroom... but boy was it worth it!!!
So here's the damages:
8 Iris CB-110 Tubs..........$144
Wood...........................$100
Spraypaint....................$12
8 VanNess Water Bowls...$10
8 Plastic Shoeboxes........$8
---------------------------------
Total...........................$274
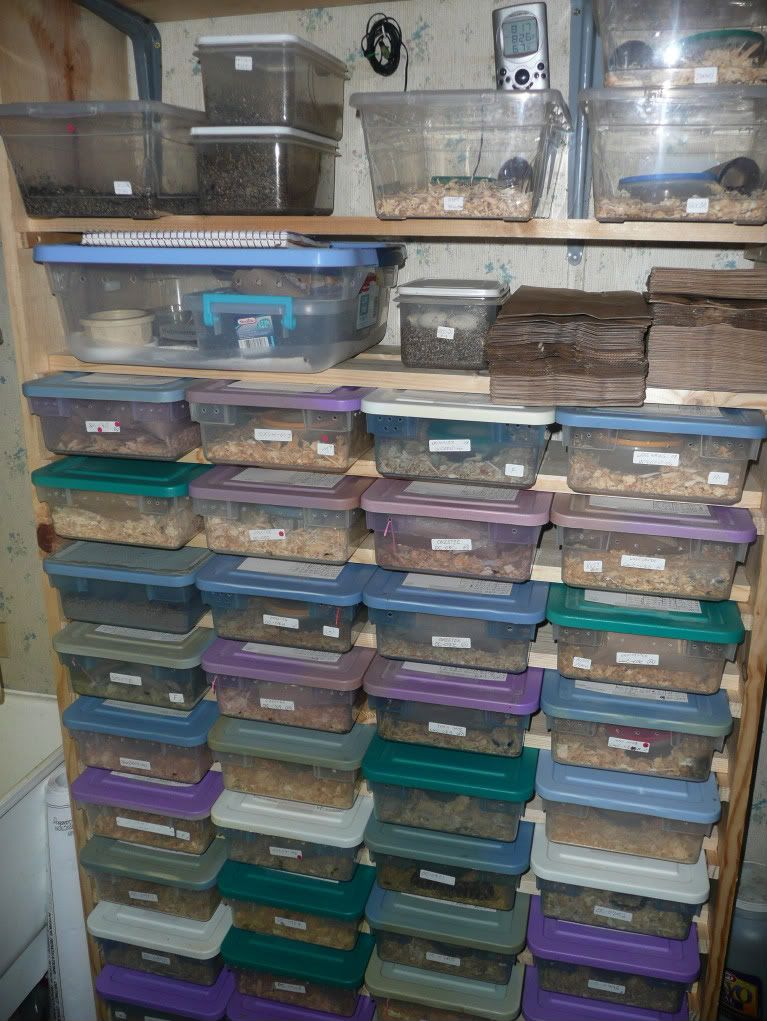
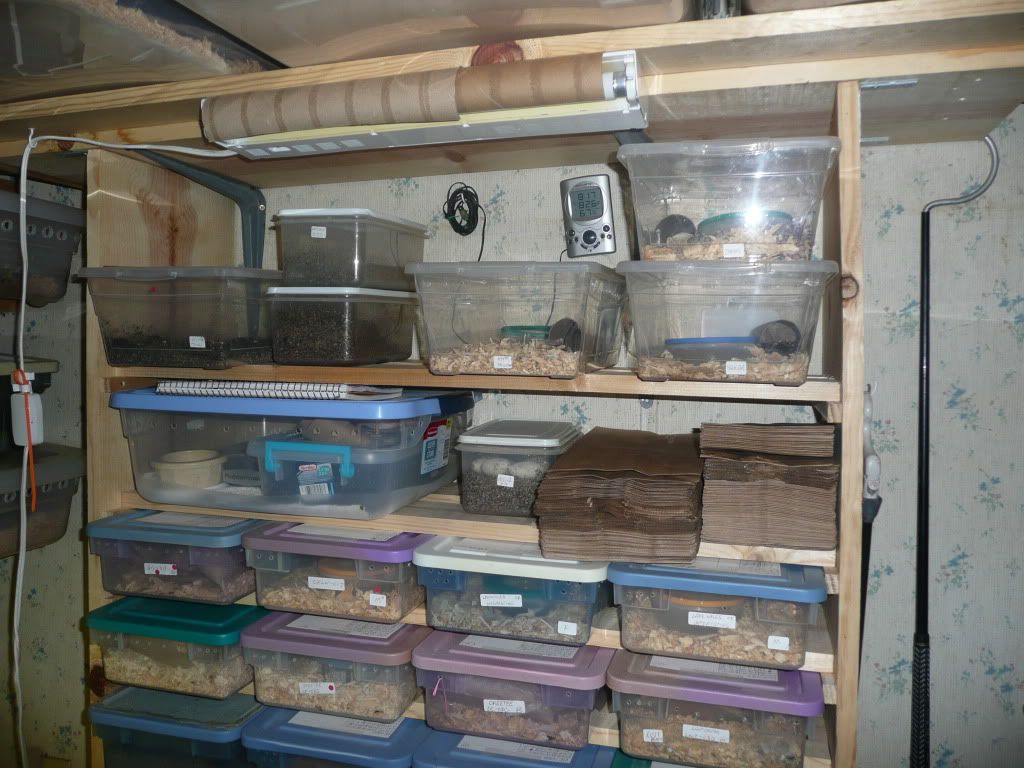
And here is the result.... sorry, didn't take any pics of the building process. It's pretty straight-forward. Stack the tubs and shelves as you go... take a drill and screw it all together!
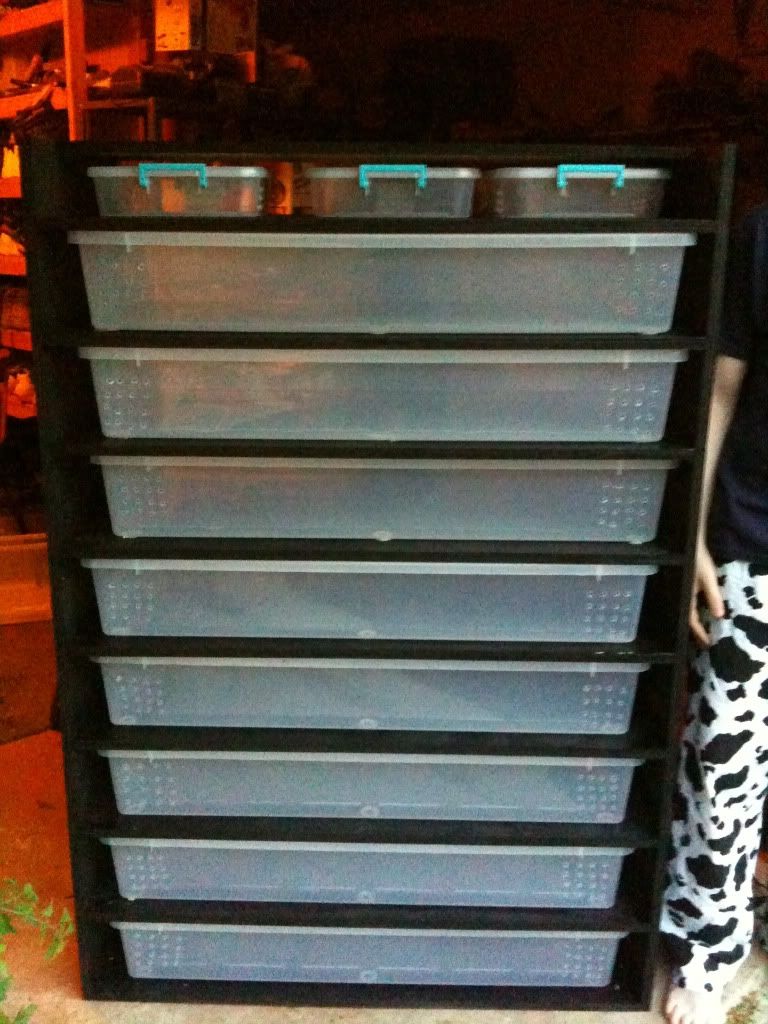
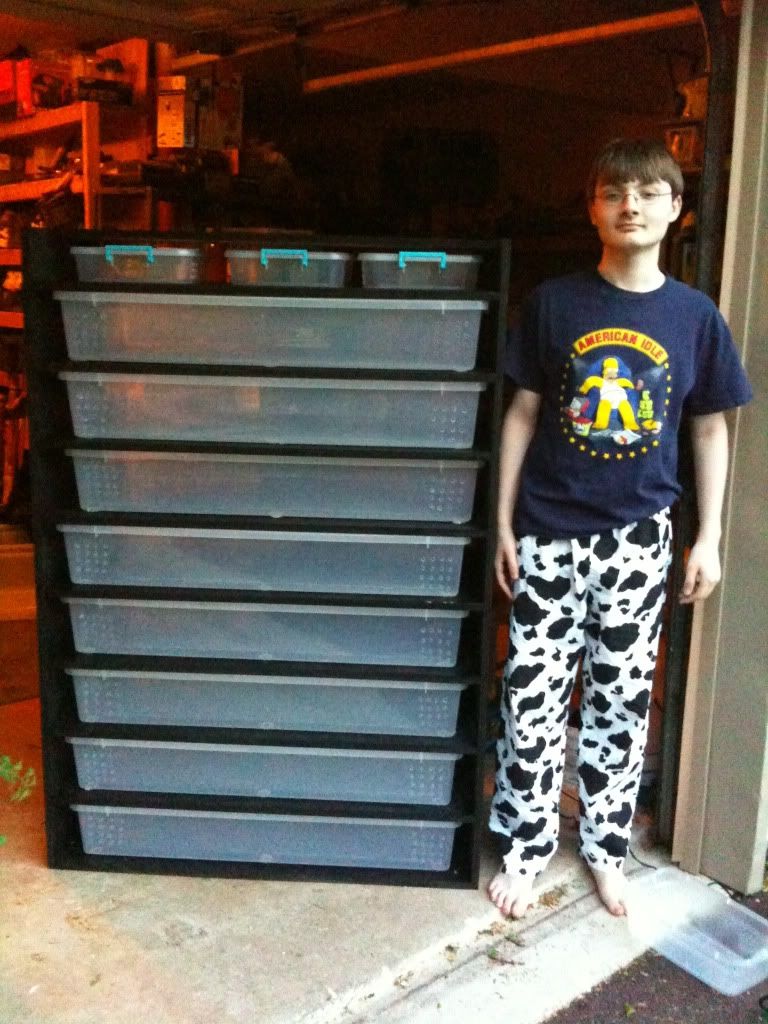
With one of my goofy brothers for size comparison:
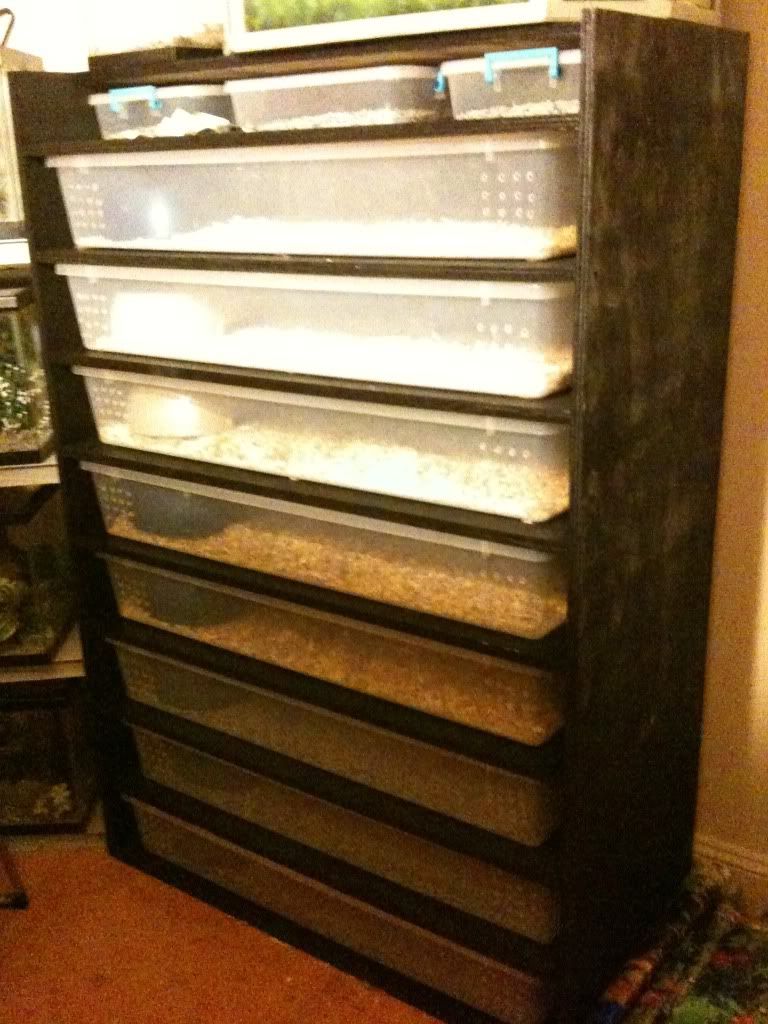
And here it is, heave-ho'ed into the snakeroom, with substrate, hides, and bowls added. I didn't have time to put any of the snakes in tonight.
Here are the hides that cost me a whopping $1 each to make!
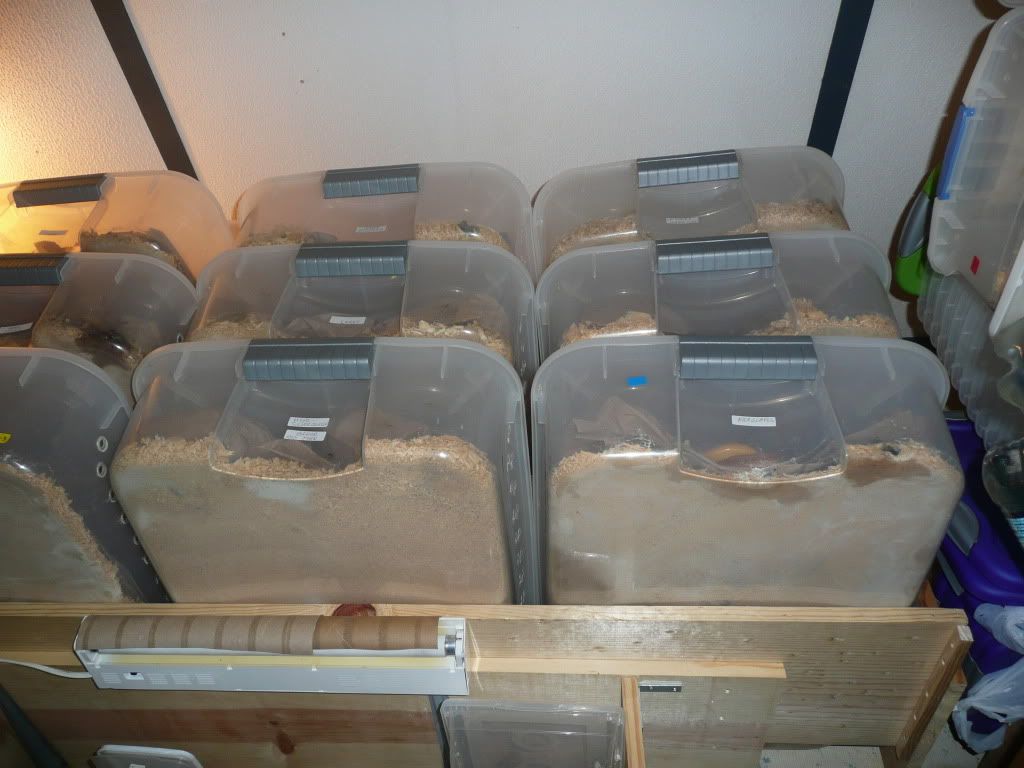
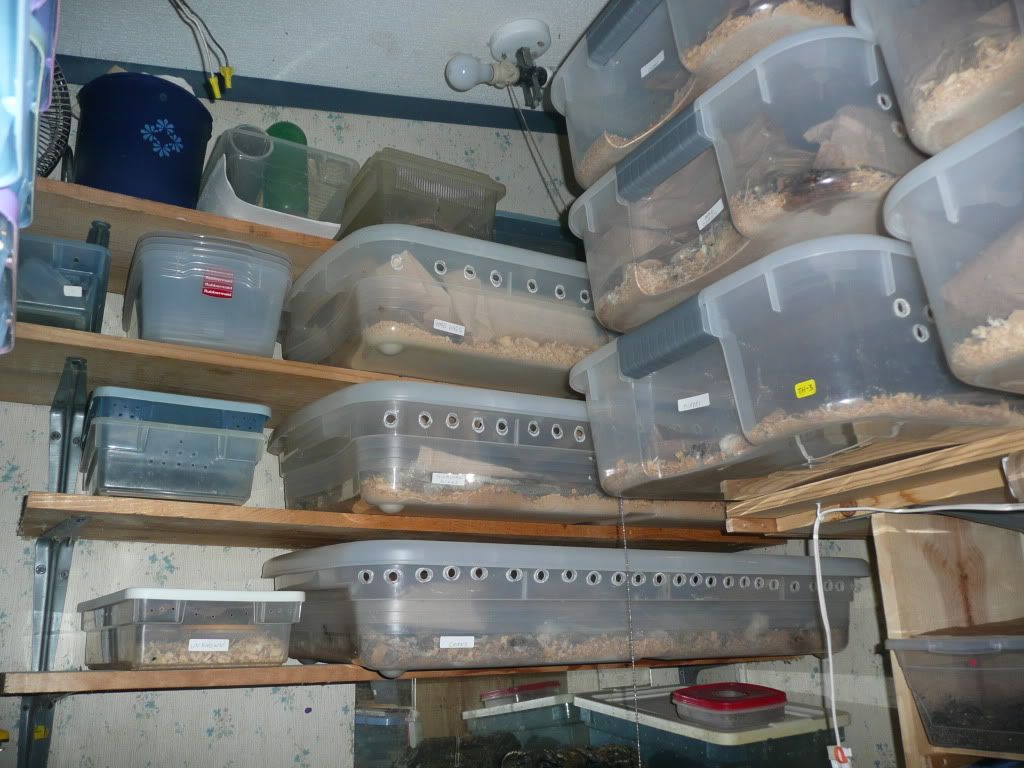
Also while we are here... here's another new rack... this one was a FREEBIE. Well, the shelf itself was. We got it in at work over a year ago a a shelf to display these handmade dog dish things. I called dibs as soon as I saw it... The shelves are short, and go back really far... perfect for shoving tubs into. I got lucky in that it holds the sterlite ultra's I picked out for it really well, they stick out a few inches, but I'd rather have these bigger tubs than stick small ones in it.